Broken Wing Guitar repairs and restores used, salvaged, damaged, and vintage string instruments.....It began with a background and love of woodworking and acoustic music that developed into a passion as all things that you love do.To get our hands dirty and maybe with a little luck be able to give back some life to an instrument that may have ended up in the trash or someone's attic or closet, and let it make sweet music as it was intended to do. I do not claim to be the finest luthier or craftsman by any measure, just a person with a love for music and the instruments and people that make it.

Saturday, February 16, 2013

Jointer

Just purchased a used 6" Grizzly g1182 jointer on Craigslist from a very nice guy out in Virginia today. Had to drive about a hundred miles round trip to get it, but well worth the trip. He had recently purchased a larger unit and was selling this one. This will certainly do the trick for me. I hope to save some time (and joint pain) with this tool. My old sweetheart planes are looking at me with disgust though..I still love them and will keep them sharp and on standby. I also ordered a height attachment extension for my 14" Delta bandsaw so that I can do some resawing of wood for backs and tops without having to purchase a bigger saw.


In the meantime I hope to get started on some new projects, and finish up some old things that have been patiently waiting for me. I received a comment from someone asking what happenned to the Bohmann mandolin and sad to say it is one of those still waiting. I promise to get to it along with French polishing the Bubinga dreadnaught and finding a screw for a friction tuner on the Martin uke that does not fit. I am waiting on a 70's Epiphone Riviera that needs some work and will post that as soon as it arrives. I do still have a day job that keeps me busy along with a bunch of other hobbies including brewing beer, gardening, bonsai, and a new one aquaponics (I only have the fish so far). Not to include I will be doing some remodeling of the homestead this spring including new hardwood floors, a kitchen redo and a new deck. I would love to build a greenhouse too if possible..

Thanks for hanging in there, more to come..

Peace
Robert

Wednesday, May 23, 2012

Bubinga Dreadnaught Guitar Build Update


This build is going along and almost ready for finish. Pictures show body completed and routed for bindings


These pictures are cutting out the end strip. Some people use only hand tools, but I need the assistance of some power tools or I would never get done.


Bubinga sides with leopardwood strip and bindings.


Taped up bindings after gluing. I use the tape since I have it and it is convenient. Below working on some problem areas that don't want to stay glued


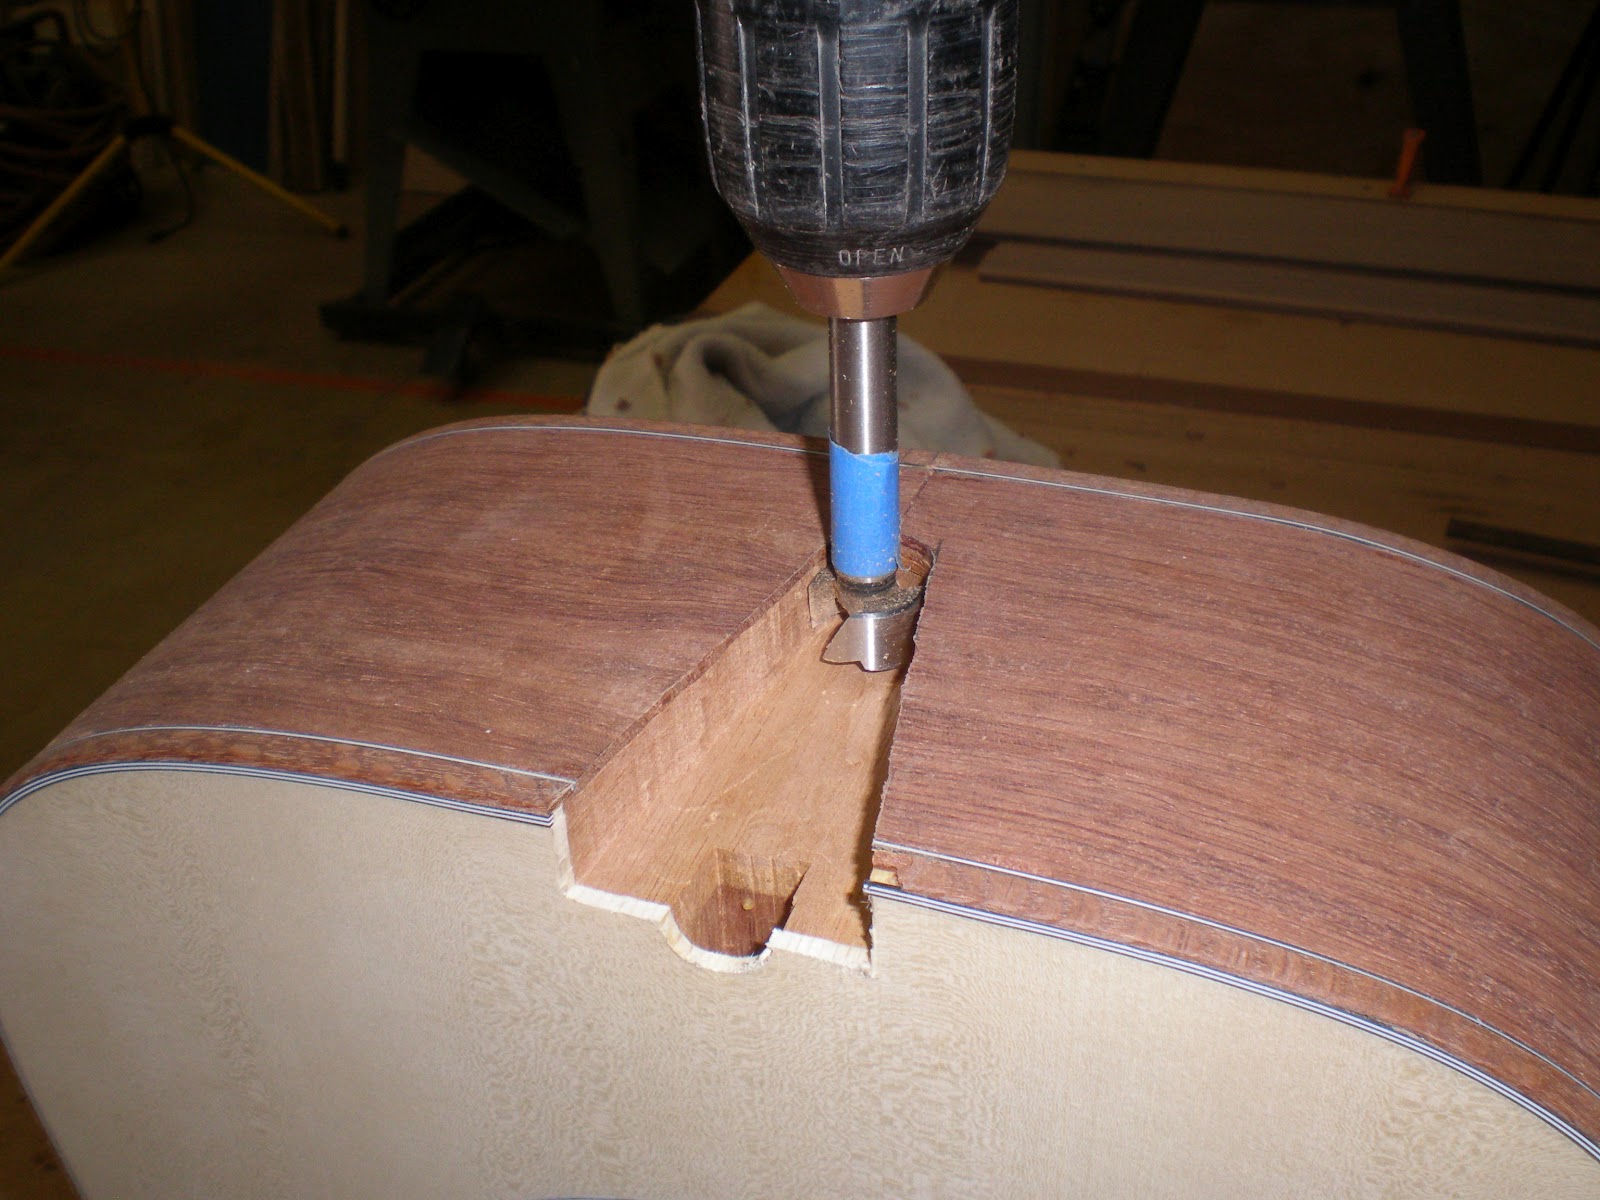
I use a drill to plow out most of the material, and then follow up with a router and some sharp chisels for cleaning out the neck mortise.


 This neck is mahogany with an ebony fingerboard that has been waiting patiently for a body. I will probably change the white cap to leopardwood.


Almost ready for finish. I will be doing a French polish that I will keep updated.


Robert
2012

Friday, March 2, 2012

Top Braced and Glued to Sides

Finally got some time to work on the bubinga dreadnought this past week. I was able to glue the braces onto the top, carve them, and then glue the top to the sides.


Still working on technique. There are a lot of skills that can only be developed with practice. Brace size, placement, shaping, and fitting are definitely one of them. I drilled a bunch of holes in the mold so I could slip the spool clamps through them while gluing. This was much easier to line things up than the last time trying to glue the top and back on without them. Now I just need some more clamps..


The last build I used pre-made braces but this one has all handmade bracing and end blocks. The lower bout bracing probably should have been at more of an angle than 90 degrees to the cross bracing, but like I said with time and experience those things will work themselves out.


When I get back next week the back can be glued on and I can start working on bindings and purflings.

Monday, January 16, 2012

Spruce Top


Short post today, just to keep things moving

I am working on the spruce top for the bubinga dreadnaught. Still trying to get the hang of routing the rosettes without tearing up the wood. I have used a full size router for many projects in the past, but this small dremel inlay routing takes a little more patience. Here I am using the Stew-Mac circle cutting set up. Main thing is to make certain everything is set properly and tightened. This Sitka spruce top is going to have a triple ring similar to the martin D-28 style


Below gluing the main cross braces to the top after installing the rosette and cutting the soundhole out. The spruce braces are approximately 1/4" x 1" at this point. They will be worked down and scalloped for this guitar. The tape is holding a piece of cardboard on the face to protect it while it is being worked on.


Thursday, December 29, 2011

Build 2 Update

Working on guitar build number 2. Number 1 turned into the Hurricane Irene model and still has issues that may never be worked out. Right now she is sitting on the bench as inspiration for number 2.

This guitar has bubinga sides and back with a leapordwood back stripe, and will have matching leaporwood bindings. I really like the look of the leapordwood, it makes a nice contrast with many woods.


Mahogany linings and installing mahogany side reinforcement strips.
The inside back center strip being installed in my make shift go bar deck


I had some old mahogany boards from a friend given to me years ago that came from salvaged pallets. They will make great braces and lining strips.


Back braces being fitted and glued.

Carving the back braces

Gluing up the sitka spruce top.


To be continued...

Seagull S6


Picked up this busted Seagull  S6 model to see if it could be repaired. The verdict is still out, since I am not sure if I will continue on or just scrap it for parts. The top was busted up pretty bad and so it was taken off completely and what remained was glued back together.


Plywood sides and back with cherry veneer. Solid cedar top.


Back was seperated as well


Inside look at LR Baggs micro eq equalizer w/volume, bass, treble controls

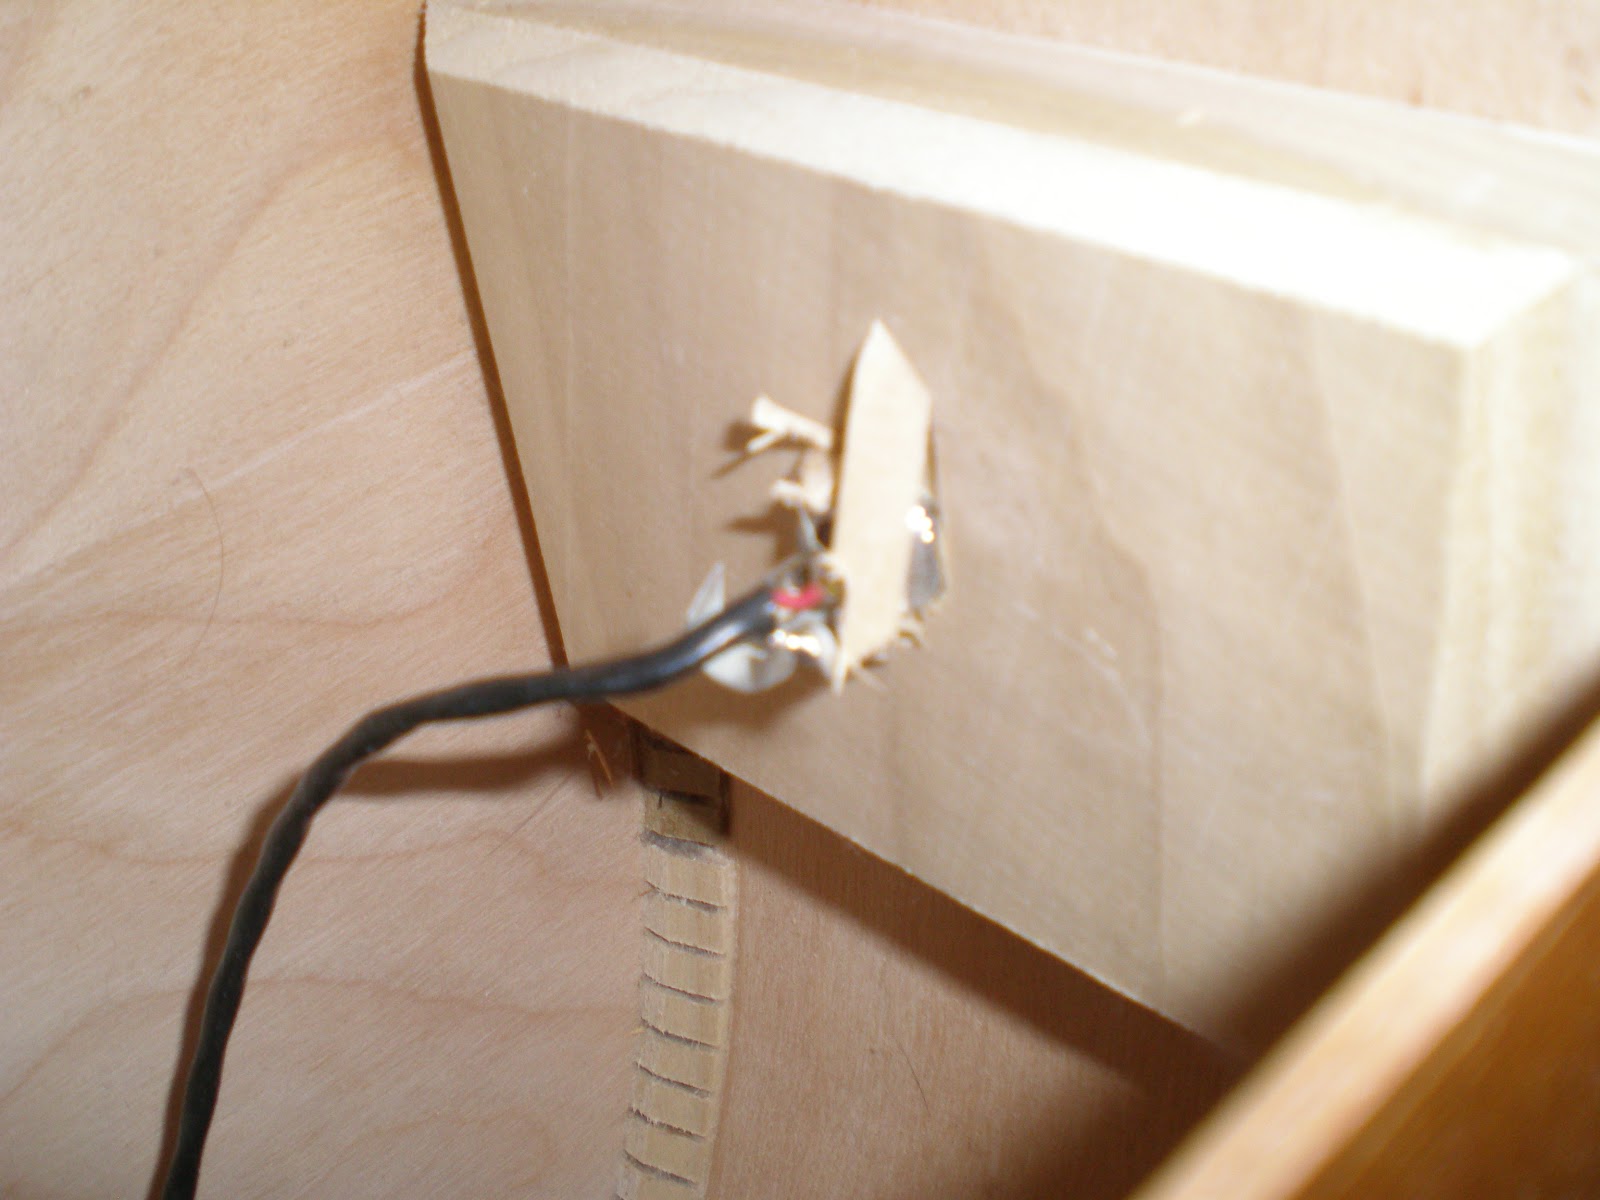
Jack plug end pin


Bolted neck joint. Brown plastic binding with small plastic cream purfling.


Removed all the braces from the top to salvage. There is a  plywood brace mixed with spruce braces. If continued new top will have all new replacement spruce braces.


Appears to be poplar neck block, tailblock, and linings


Some more pictures of taking apart, cleaning up, gluing back together.


That was the easy part. I picked out a cedar set that I had for the replacement top. Now to decide to continue on or not. I have done a top replacement similar to this with plywood sides and have had a hard time with the bindings and damaging finish on sides. To be continued..


Related Posts Plugin for WordPress, Blogger...