Saturday, October 13, 2012
Wednesday, May 23, 2012
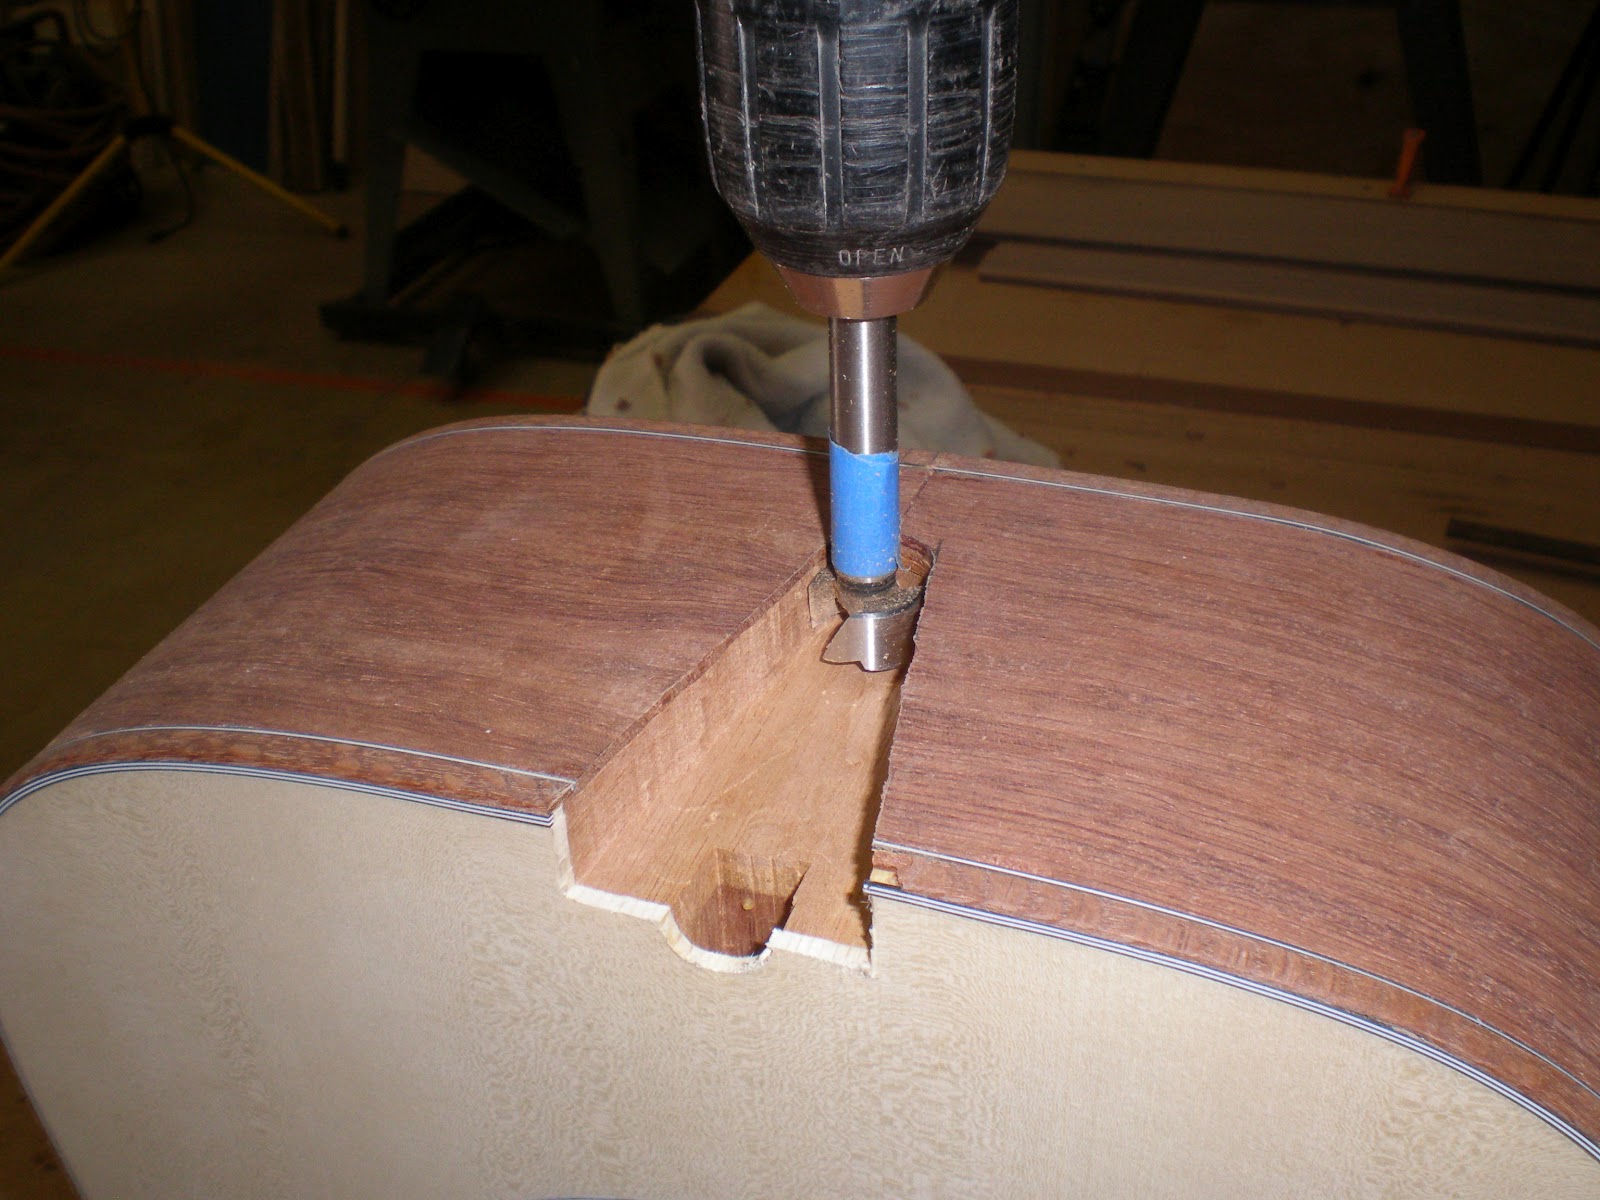
Bubinga Dreadnaught Guitar Build Update

This build is going along and almost ready for finish. Pictures show body completed and routed for bindings


These pictures are cutting out the end strip. Some people use only hand tools, but I need the assistance of some power tools or I would never get done.


Bubinga sides with leopardwood strip and bindings.


Taped up bindings after gluing. I use the tape since I have it and it is convenient. Below working on some problem areas that don't want to stay glued


Almost ready for finish. I will be doing a French polish that I will keep updated.

Robert
2012
Friday, March 2, 2012
Top Braced and Glued to Sides
Finally got some time to work on the bubinga dreadnought this past week. I was able to glue the braces onto the top, carve them, and then glue the top to the sides.

Still working on technique. There are a lot of skills that can only be developed with practice. Brace size, placement, shaping, and fitting are definitely one of them. I drilled a bunch of holes in the mold so I could slip the spool clamps through them while gluing. This was much easier to line things up than the last time trying to glue the top and back on without them. Now I just need some more clamps..


The last build I used pre-made braces but this one has all handmade bracing and end blocks. The lower bout bracing probably should have been at more of an angle than 90 degrees to the cross bracing, but like I said with time and experience those things will work themselves out.

When I get back next week the back can be glued on and I can start working on bindings and purflings.
Monday, January 16, 2012
Spruce Top
Short post today, just to keep things moving
I am working on the spruce top for the bubinga dreadnaught. Still trying to get the hang of routing the rosettes without tearing up the wood. I have used a full size router for many projects in the past, but this small dremel inlay routing takes a little more patience. Here I am using the Stew-Mac circle cutting set up. Main thing is to make certain everything is set properly and tightened. This Sitka spruce top is going to have a triple ring similar to the martin D-28 style

Below gluing the main cross braces to the top after installing the rosette and cutting the soundhole out. The spruce braces are approximately 1/4" x 1" at this point. They will be worked down and scalloped for this guitar. The tape is holding a piece of cardboard on the face to protect it while it is being worked on.

Subscribe to:
Comments (Atom)
