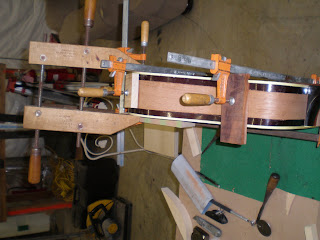
This guitar gave me a chance to try out the new side bending jig that was made a while ago. Using a standard dreadnought pattern the side was able to be replicated pretty close. A little tweaking with the bending iron was necessary to get it to fit right.Wasn't sure how to cut the material out of the side, I didn't want to get into the binding and the linings so decided to make a cut on either side of the split running parallel with each side.
Mahogany strips were bent and cut to fit inside the body side. These were clamped and glued to the remaining side material and butted up to the linings to give a clean appearance on the inside.Cutting the replacement side material was difficult because the sides do not run parallel but have a slight bend to the back side. This material had to be slowly cut and fitted. Once it was cut to fit the neck joint was chiseled out slightly in order to slide the new side material under it to keep the joint clean and hold it in place while gluing it up.
The new side material was glued and clamped in three steps over three days to slowly work the material around the curve. Once to the end the material was fitted and cut to length at the end pin hole. This was difficult and may have to have an end pin strip installed at the joint if it does fit exactly.
Once everything was glued and dry the new material had to be sanded to fit to the old material. The thickness of the new material was left a little higher so it could be sanded and fitted to match the existing. This was painfully slow done by hand with varying grits of sandpaper.

As you can see from the close up picture the grain of the new mahogany is different from the old. I used a piece that was available, hopefully the stain is so dark this will not be noticeable when finished.

Finished sanding almost ready for finishing... every woodworkers nightmare. More on this later..


